

Blog
How to Inspect Reflective Gear Before a Run

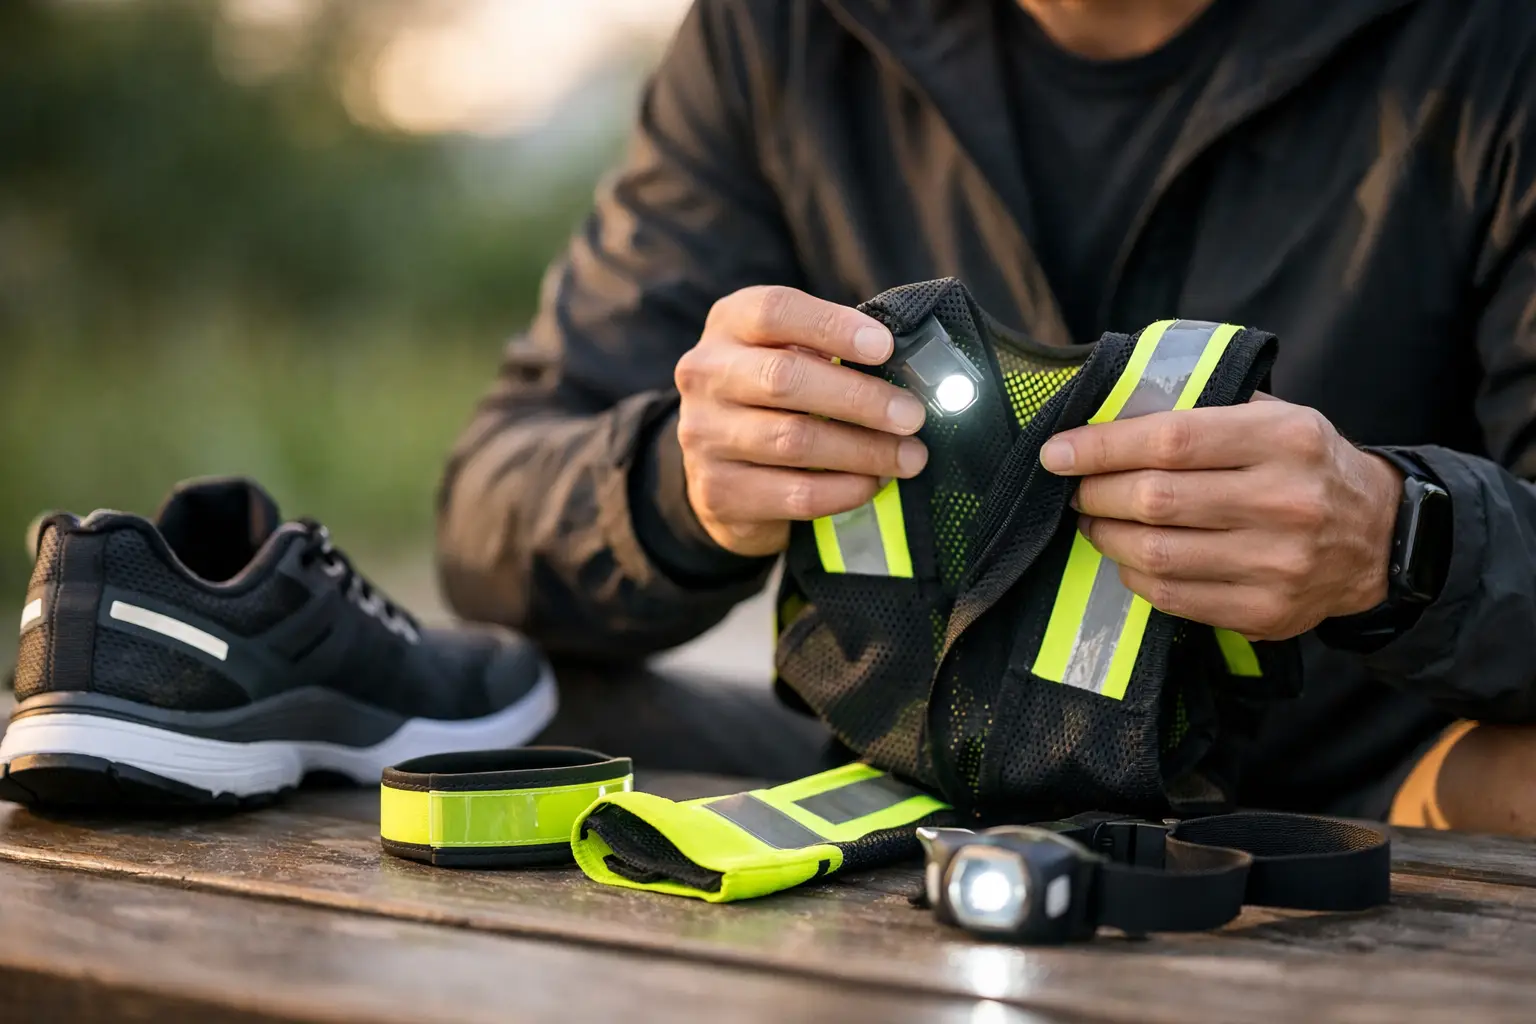
A reflective vest can look perfectly fine under a kitchen light and still do very little when a car approaches on a wet November evening. That is why knowing how to inspect reflective gear matters. It is not about making kit look new. It is about checking that it still earns its place on every dark-mile run.
Reflective straps, vests, belts and trims work by bouncing vehicle headlights back towards the driver. They are a valuable visibility layer, but they are not magic and they do not last forever. Sweat, road grime, repeated washing, sun exposure and friction from backpacks can all reduce performance over time.
Start with a quick daylight check
Lay your reflective gear flat somewhere bright. Look closely at every reflective panel, strip and printed detail rather than judging the item as a whole. You are looking for dull patches, cracking, peeling, deep creases and areas where the material has rubbed away.
Pay particular attention to high-friction points. On a vest, that usually means the shoulders, sides, zip area and places where a running belt or pack sits. On reflective straps, inspect the buckles, adjustment points and the sections that move against your jacket. A small patch of surface damage may not mean the whole piece is finished, but widespread fading or flaking is a clear warning sign.
Run a clean, dry hand over the reflective surface. It should feel consistent. If sections feel unusually rough, sticky, brittle or loose, the reflective layer may be breaking down. Do not ignore stitching either. A highly visible vest is no use if a shoulder seam or fastening is about to fail halfway through a run.
Check the fit, not just the fabric
Reflective gear has to stay where it is meant to be. Put it on over the layers you actually wear in the conditions you are running in. A vest that fits over a T-shirt may become restrictive over a winter mid-layer. Straps that feel secure at the door can bounce and twist once your arms start moving.
Move through a few running motions. Swing your arms, rotate your torso, reach upwards and jog on the spot. The gear should sit securely without chafing your neck, rubbing your underarms or sliding around your torso. Adjustment hardware should hold its position under tension.
A close fit is usually better than a loose one, provided you can breathe and move freely. Loose straps can spin to the wrong side of your body, leaving reflective sections hidden from traffic. If your kit has reflective elements on both the front and back, check that both remain visible when you run naturally.
How to inspect reflective gear in low light
The real test happens in darkness or near-darkness. Wait until dusk, use a dark hallway, or ask someone to help outside. Stand several metres away from a light source, then shine a torch or your phone torch towards the gear from roughly head height. Better still, ask a friend to view it from the position and distance of an approaching road user.
A healthy reflective surface should return a clear, bright flash of light towards the source. Compare different areas of the same item. If one panel shines strongly while another looks grey, weak or patchy, the weaker section has lost performance.
Check from more than one angle. Runners are not static road signs. You turn at junctions, run around bends and pass parked cars. Rotate slowly and make sure the reflective areas can still be seen from the front, rear and sides. This is one reason chest straps, ankle bands and moving arm details can be useful: motion catches attention.
Do not confuse fluorescent colour with reflectivity. Fluorescent yellow, orange and pink can help in daylight and dull weather, but they do not replace reflective detailing after dark. Likewise, a reflective vest does not replace a light. For unlit roads, trails or poor weather, pair your reflectives with a reliable front light and, where appropriate, a rear light.
Inspect LEDs and rechargeable visibility gear separately
If your reflective kit includes LED chest lights, clip lights or illuminated bands, give the electronics their own check before heading out. Switch each mode on and confirm that the light is steady, bright and free from flickering. A light that cuts out when you tap it or move the cable may have a loose connection.
Check the charging port cover, casing and strap for damage. Moisture can find its way through cracked housings, particularly after wet runs. Rechargeable gear should be charged before you need it, not five minutes before an early start. If battery life has become noticeably shorter, plan around it or replace the unit rather than gambling on a dark route.
Light placement matters as much as brightness. A chest light should point ahead without dazzling other path users, while a rear light should not be hidden by a jacket hem, running pack or long top. Test your setup in the mirror or with a running partner before relying on it near traffic.
Clean it carefully to protect performance
Reflective materials need cleaning, but harsh treatment can shorten their useful life. Sweat, salt and mud create a dull film that can make a good reflective surface look weak. Wipe down straps and hard surfaces after wet or gritty runs. Wash garments according to their care label, usually inside out on a cool, gentle cycle.
Avoid fabric softener, bleach and high heat unless the manufacturer specifically says otherwise. These products can affect coatings, adhesives and printed reflective details. Air-drying is usually the sensible choice. Do not leave visibility gear baking on a radiator or in strong sun for days, especially if it includes elastic, glue or rechargeable components.
This is where buying less, but buying better, pays off. A durable item that is cared for properly delivers more safe miles and creates less waste than a cheap replacement bought every season. At 4R, that balance matters: practical running kit should support your training without feeding the throwaway cycle.
Know when repair is sensible and when retirement is safer
Not every flaw means you need a new piece of gear. A loose stitch, damaged buckle or worn elastic can often be repaired if the reflective panels themselves still perform well. Repair keeps useful equipment in use and is the better choice when it does not compromise safety.
However, retire reflective gear from dark-road use when the reflective finish is broadly faded, peeling, cracked or no longer bright in a torch test. The same applies when straps will not stay adjusted, fastenings are unreliable, or the garment no longer fits securely over your running layers.
You may still be able to use a worn vest for daylight exercise, dog walking or as an extra layer on a bright route. Just be honest about what it can do. Daylight visibility is not the same as dependable night-time reflectivity.
Build the check into your running routine
You do not need to carry out a full inspection before every run. A ten-second glance is enough for most sessions: check the fit, the fastening and whether any light is charged. Give everything a more thorough daylight and low-light test every few weeks during the darker months, and after a fall, a hard wash, a long period in storage or a particularly muddy run.
Your route should influence your setup. Well-lit urban pavements may call for reflective straps and a light-coloured layer. Quiet country roads, rain, fog and early winter darkness demand more coverage, active lighting and a conservative route choice. It depends on the conditions, but the principle stays the same: make it easy for others to see you before they are close to you.
A quick inspection is one small act of preparation, like tying your laces or checking the weather. Do it with purpose, wear the gear that still performs, and head out ready to enjoy every mile with more confidence.